- Categories : Inspiration

Nateo CONCEPT

Quick DIY: a wooden star in 5 steps

Looking for a Christmas decoration that's different from the same old plastic stars? Making a wooden star yourself is an idea that's ecological, economical, and fun. Besides reducing disposable purchases, it's an opportunity to share a real creative moment with family. Follow this step-by-step guide to create a unique star that will illuminate your holiday season.

The 5 steps to make your own star:

  1. Materials needed: 5 branches, string, pruning shears, paint, saw, sandpaper
  2. Prepare the wood: plan for 5 wooden battens of equal length
  3. Assemble the star step by step: secure the intersections
  4. Personalize your star: raw wood, painted white, pinecone in the center.

Place your star: front door, fireplace, Christmas tree

1. Required materials

For a medium-sized star (20 to 30 cm), you'll need:

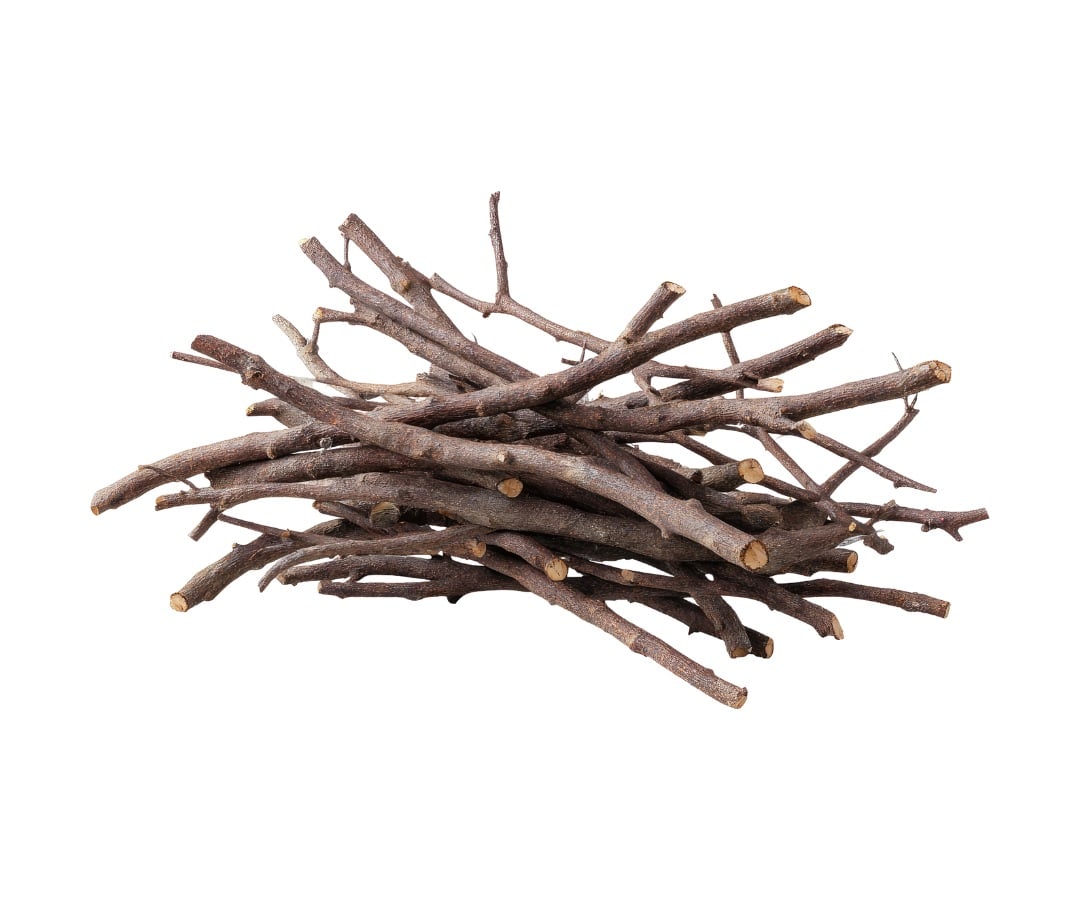
diy-etoile-en-bois-nateo-branche

5 straight branches or 5 wooden battens of the same length

diy-etoile-en-bois-nateo-outils

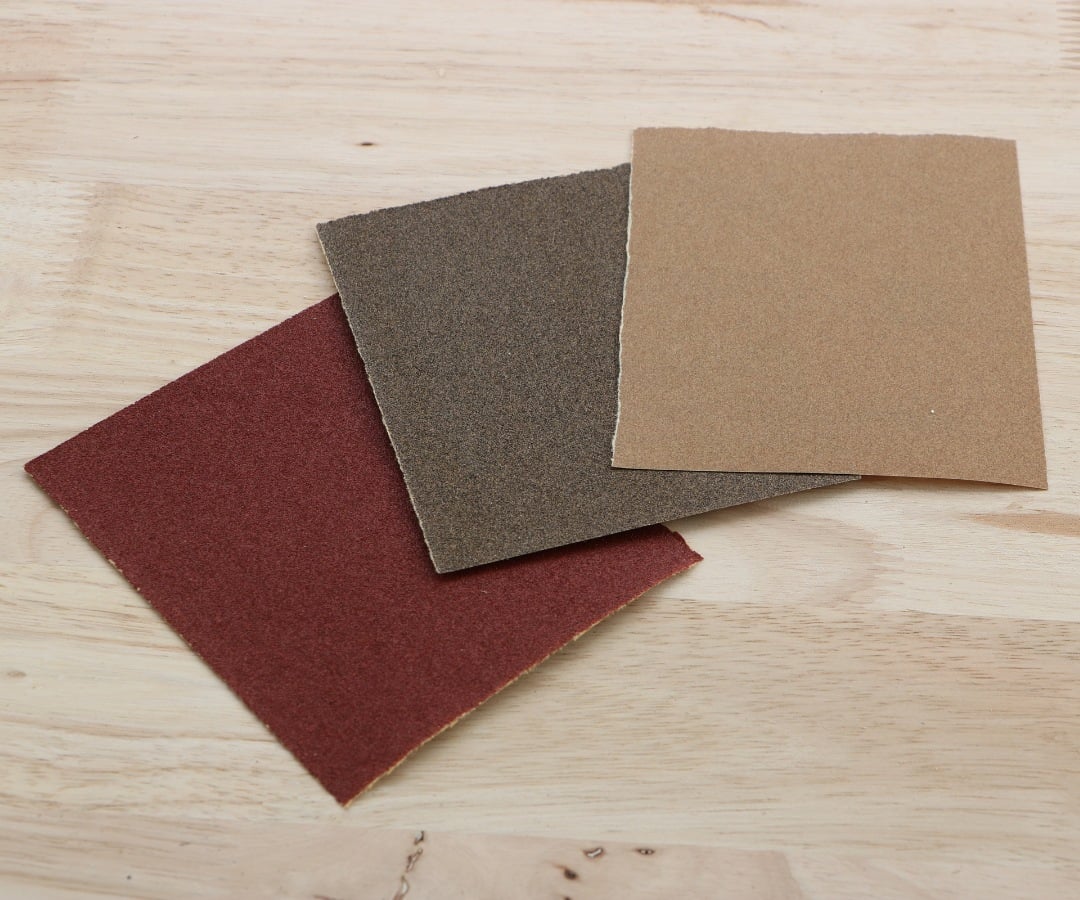
Pruning shears, small saw, and sandpaper for smoothing

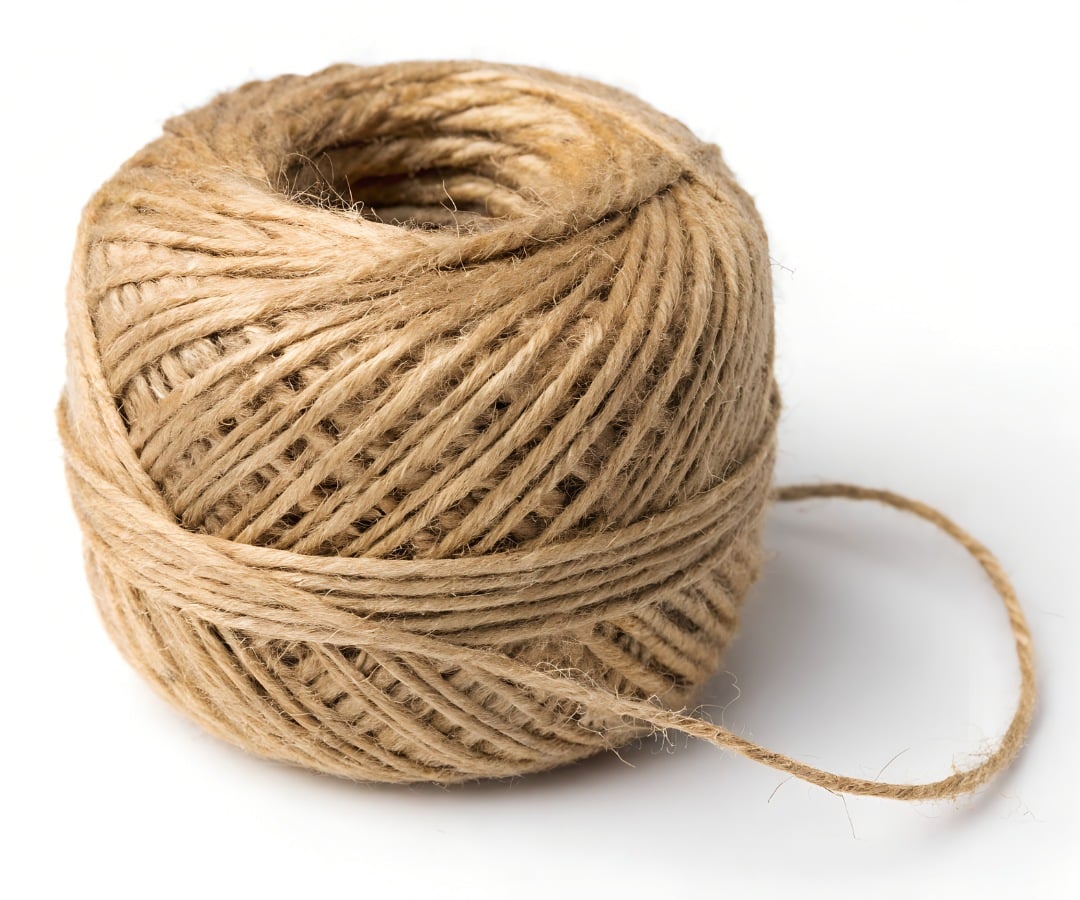
diy-etoile-en-bois-nateo-ficelle

Jute twine or non-toxic wood glue

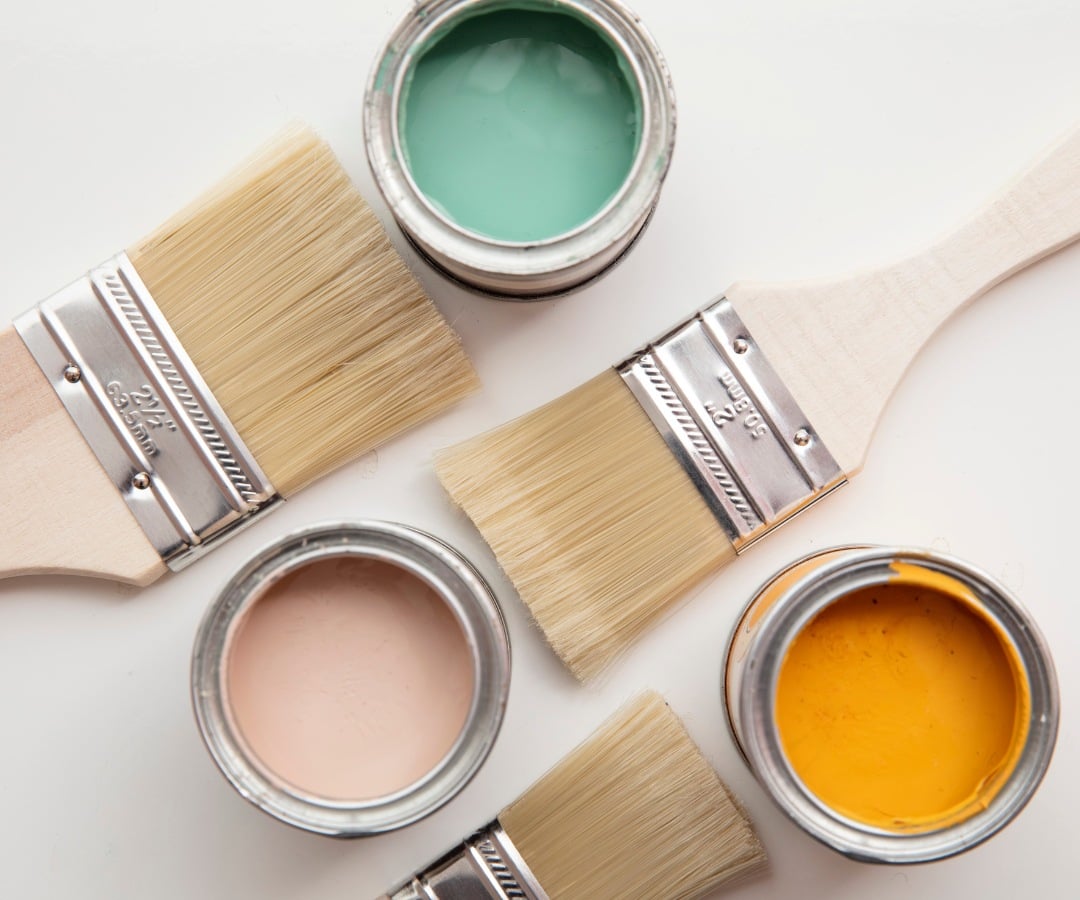
diy-etoile-en-bois-nateo-peinture

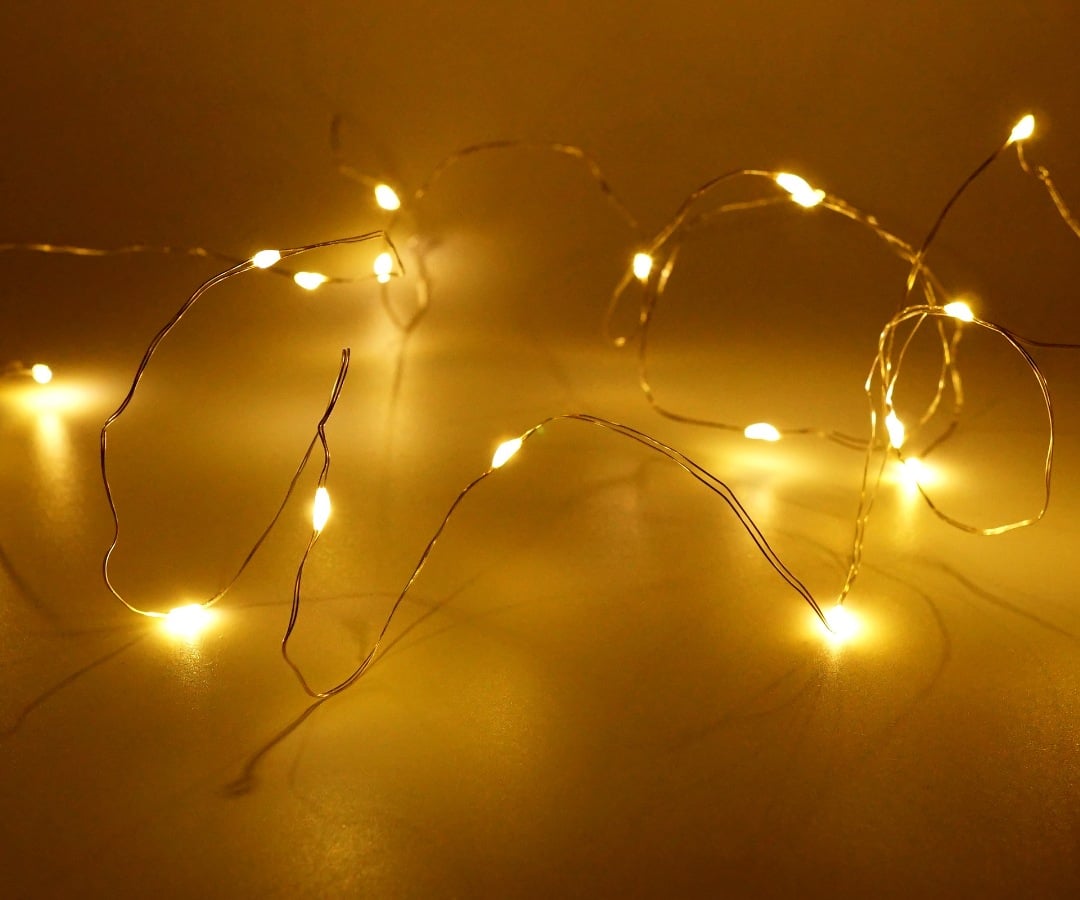
Water-based paints, biodegradable glitter, LED string lights (optional)

💡 Tip: if you're doing this activity with young children, prepare the branches yourself and let them handle the decorating part.

2. Prepare the wood

Cut your 5 branches or battens to equal length. For a harmonious result, aim for about 25 cm each.
Then give them a quick sand to avoid splinters. Leave the wood natural for a raw look, or apply a base coat of water-based paint if you want a colored finish.

💡 Safety tip: prefer solvent-free paints and glues, suitable for children.

diy-etoile-en-bois-nateo-papier-de-verre

3. Assemble the star step by step

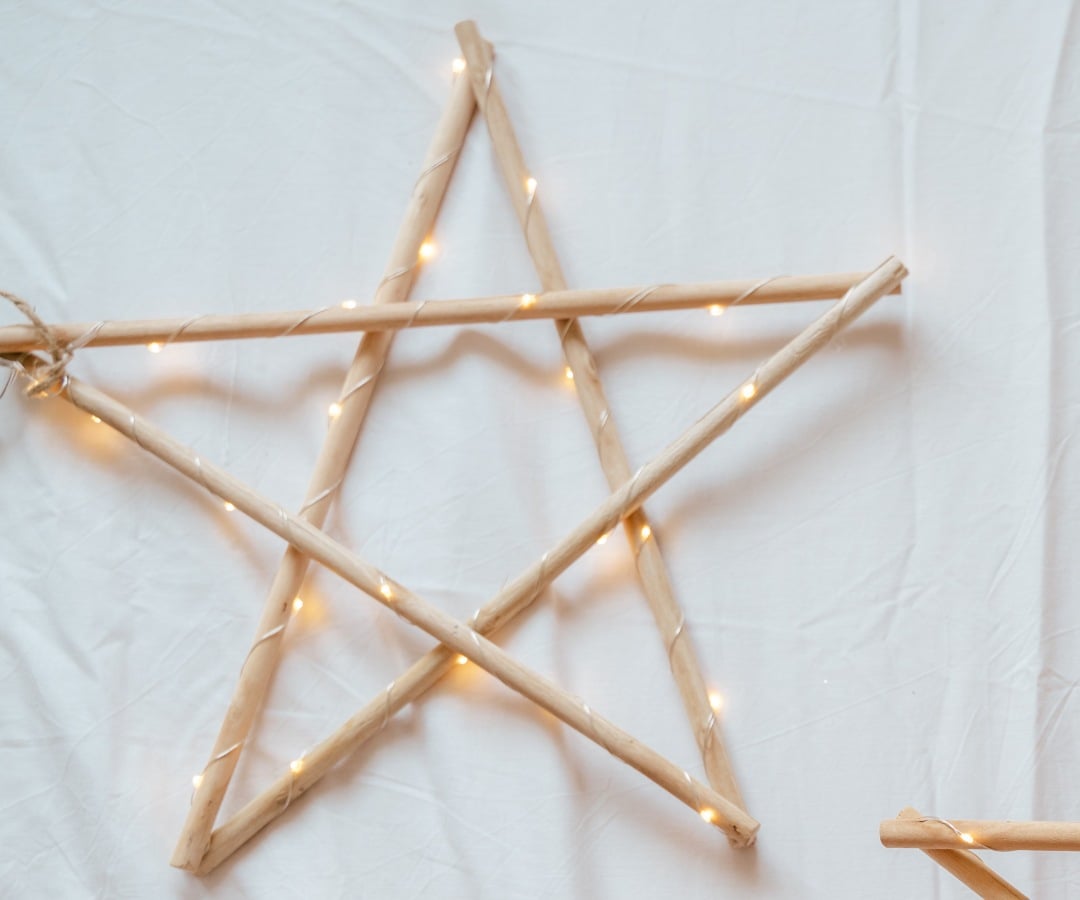
  1. Arrange your 5 pieces of wood in a star shape on a table.
  2. Secure the intersections with a bit of wood glue.
  3. For more stability (and a rustic look), wrap jute twine around the crossings.

👉🏼 Children's version: use colored string or pipe cleaners. Children love wrapping and decorating, and the star holds together without dangerous tools.

diy-etoile-en-bois-nateo-guirlande

4. Personalize your star

Now's the time to let your creativity shine!

  • Scandinavian style: leave the wood raw or paint it in off-white or light gray.
  • Magical version: wrap battery-powered LED lights for a soft glow.
  • Nature and forest: glue a pinecone in the center, attach pine sprigs or eucalyptus with thin string.

💡 Bonus: make several stars of different sizes and hang them together for a natural garland effect.

Looking for decorating ideas to personalize your interior? Discover our children's room decorative accessories on NateoConcept.

Where and how to use your wooden star?

A homemade wooden star doesn't just belong on the Christmas tree. Here are some original ideas:

  • On a front door, as an alternative wreath
  • Above the fireplace, in XXL version
  • In mini format, transformed into a handmade gift to hang on a bottle or package

Each star becomes not only a unique decorative piece but also a family memory to share.

diy-etoile-en-bois-nateo

Why make your own wooden star?

Creating a wooden star yourself means:

  • Ecological: you use recycled wood, branches collected from the forest, or PEFC/FSC certified battens. A sustainable alternative to disposable decorations.
  • Family-friendly: children can safely participate in every step, from sanding to decorating. An excellent way to disconnect from screens.
  • Unique: each star tells your story. Shapes, colors, patterns... no two models are identical. You'll keep this decoration year after year.