How to customise the baby's room with easy DIY projects?

- Categories : Tips

Nateo CONCEPT

Personalise baby's room with DIY

DIY is an excellent way to decorate the baby's room at a lower cost. Moreover, it's a way to personalise their environment to make the decoration even more personal. To prepare for baby's arrival properly and refine the decoration of their room, why not try some easy DIYs? It's also a very good way to keep yourself occupied while waiting for baby to decide to make an appearance.

The basic elements for baby's room

Before diving into DIY, you need to ensure that baby has everything they need in their room. A baby's room primarily requires furniture to set up a bed and storage units.

A wooden baby room is often an excellent choice. It offers a very warm feel to the room and allows you to choose quality furniture that will last over time. A complete baby room in wood is also ideal if you want to opt for matching furniture. Our VINTAGE oak complete baby room, for example, will allow you to create a soft, warm, and slightly retro atmosphere.

If you don't know if it's a girl or a boy, opt for a neutral baby room. This way, you can create either a baby boy room or a baby girl room.

Easy DIY ideas to make

Once the furniture is installed in baby's room, you can move on to the decoration part. There are many decorative items dedicated to the rooms of the little ones, but you can also make some yourself. Here are some easy DIY ideas to make for baby's room.

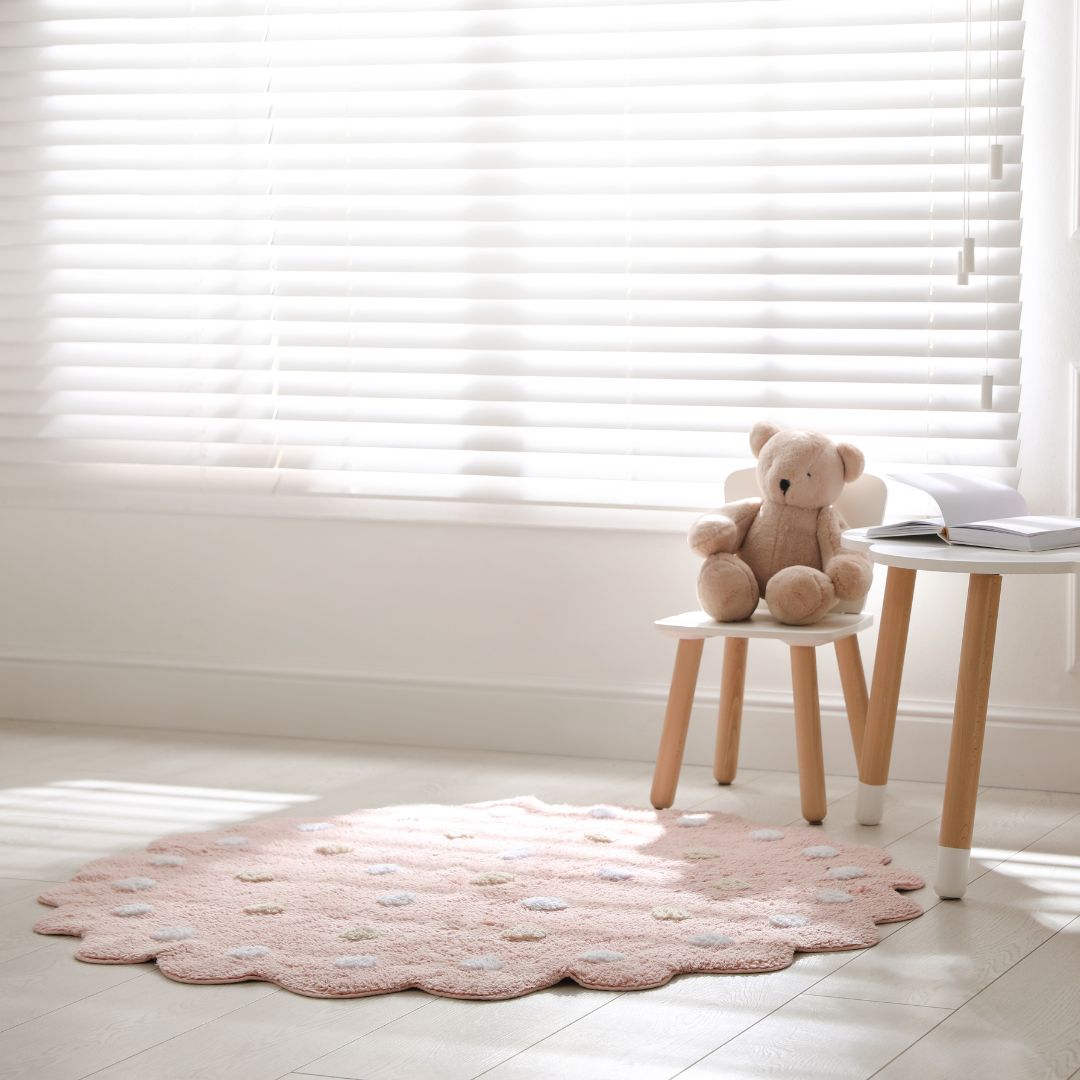
A soft and cosy play mat

If you want baby to be comfortably settled for playtime, you can create a lovely patchwork-style play mat. To do this, it's very simple, you need:

- Fabric scraps

- Padding wadding

- Sewing supplies (for hand or machine sewing)

Similar to a patchwork, you will make small square cushions using the fabric and wadding. The goal is to make enough so that when placed side by side, the whole is the desired size. Fabric scraps are therefore perfect for this project, allowing you to vary colours, patterns, etc. Once your small padded squares are sewn, you can assemble them together.

For optimal results, create your complete composition by placing each square where desired and take a photo when you're happy with the overall look. This way, you can choose which squares to sew together to achieve the same result. Once the assembly is complete, you have a lovely colourful patchwork-style mat.

Baby's name in embroidery style

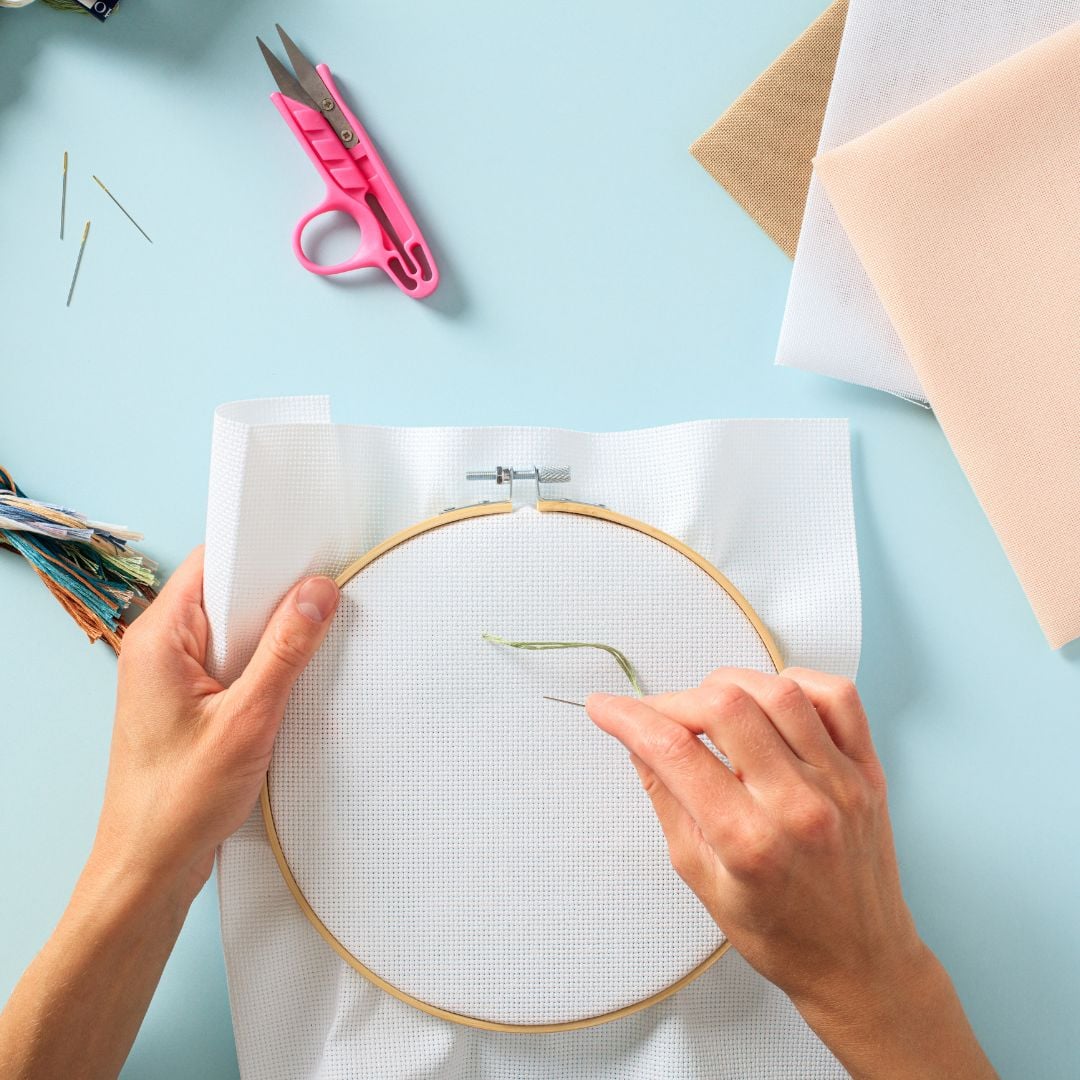
This easy DIY requires that baby's name has been chosen. If that's indeed the case, you can discover embroidery to hang a lovely embroidered hoop on the wall of baby's room. For this DIY you need:

- An embroidery hoop

- Fabric

- Embroidery thread

- A needle

- Scissors

- A pattern if desired

Embroidery is a perfectly suitable activity if you're pregnant and looking for something to keep you occupied. It allows you to enjoy a calm and relaxing time while having the pleasure of creating something yourself. Start by tracing baby's name and/or the desired design on the fabric. You can also get inspiration from a pattern by downloading ideas online.

Then, place the embroidery hoop around the motif, centring it well and making sure the fabric is taut. You're ready to embroider! You can discover on YouTube a multitude of embroidery techniques to create different stitches according to your preferences. Don't hesitate to vary the types of knots as well as thread colours for an even more personal result.

Once your embroidery is finished, cut off the excess fabric and thread that might be visible once the hoop is hung. You can attach a small hook or a small nail at the desired location to directly hang the hoop or even suspend it from a pretty ribbon, for example.

A pompom mobile

Last easy DIY idea for baby: a pompom mobile. For this DIY project you need:

- Wool in various colours

- Cardboard

- A wooden hoop

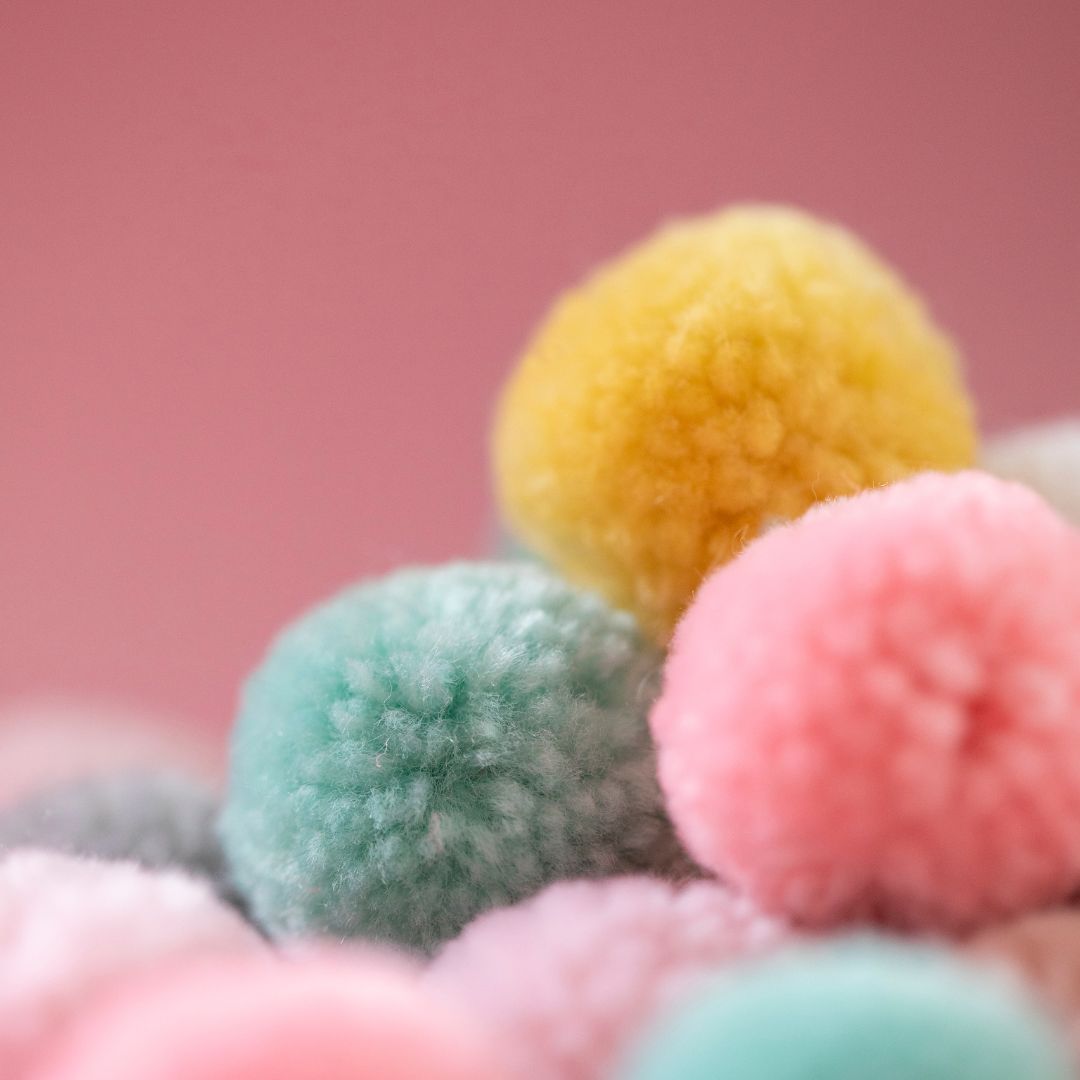
Start by making wool pompoms of different sizes and colours. If you don't know how to make pompoms, you can easily find a tutorial on YouTube. It's a very easy technique that just requires a bit of patience. Once your pompoms are made, use the remaining wool to hang them all around the wooden hoop. Vary the heights to create an even prettier effect. Also, remember to look at it from underneath to get an idea of what baby will see.

Finally, all that's left is to hang your mobile to your support (you can find mobile arms in stores to hang the desired model). This DIY is made here with pompoms, but you can opt for all sorts of other hanging elements such as folded paper shapes, characters made of felt or French knitting, etc. The only limit is your imagination and your crafting skills!

Discover our baby rooms