Building an Elevated Bed with Storage: The Complete DIY Guide

- Categories : Tips

Nateo CONCEPT

DIY raised bed: get started!

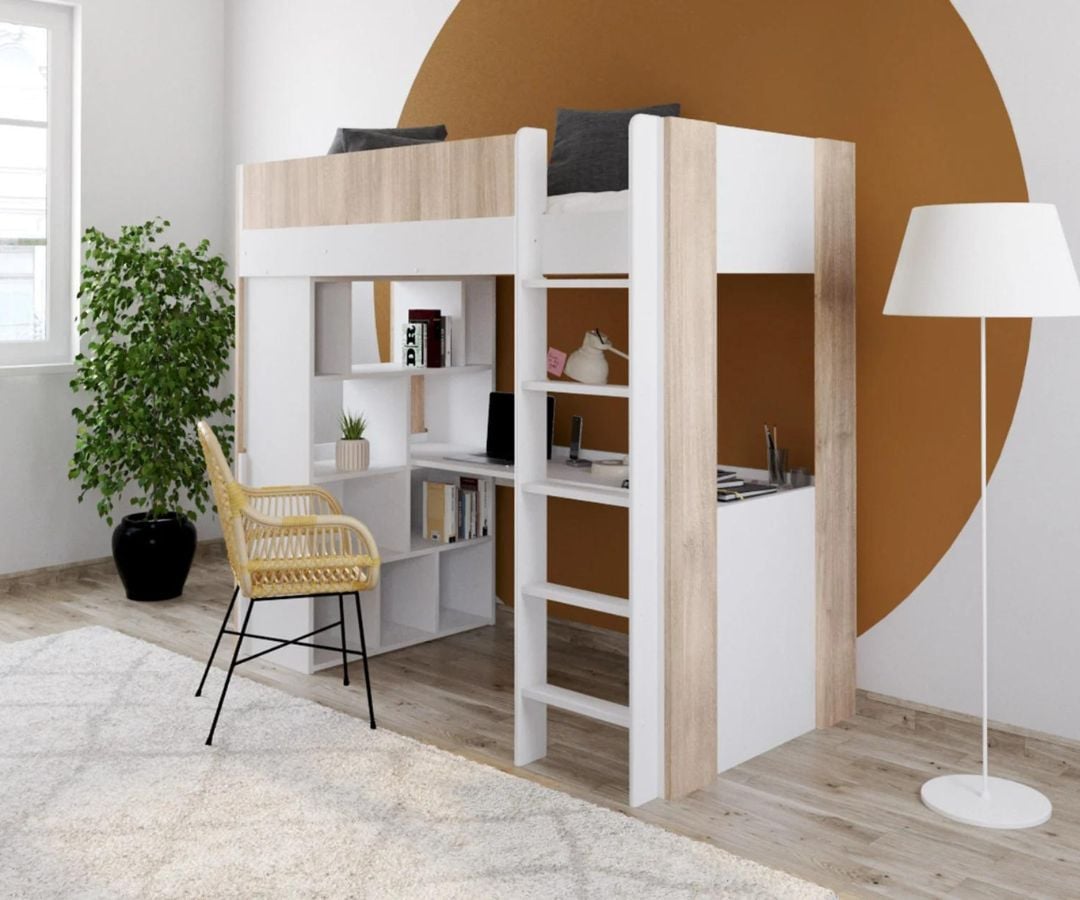
Building a raised bed with storage is the ideal solution to combine a clean Scandinavian-inspired design, maximum functionality and concrete commitment. Imagine high-end furniture, designed by you, which not only frees up precious floor space but is also made from noble and healthy materials like certified solid wood. Discover in this guide solutions to create a wellness cocoon, a custom layout that reflects your personality while being as smart as it is sustainable.

Why build a raised bed with storage?

Are you tired of having to push the walls to breathe in your home? The feeling of lacking space is a persistent one, especially in the city. What if the solution wasn't on the ground, but up high?

The raised bed with storage is not just a simple piece of furniture. It's a true design philosophy. An intelligent and aesthetic solution to the puzzle of small spaces, which transforms your bedroom into a dual-function space, without sacrificing style.

Imagine. A monumental space saving, an optimized living area and, above all, the possibility of creating 100% custom-made furniture. Furniture that reflects you, aligned with your tastes and values. Making it yourself means choosing your wood, finishes, configuration. It's a creative, almost committed act.

The pleasure of building with your own hands a durable object, which has a story, is incomparable. It's the promise of an interior that is not only stylish, but also deeply personal and healthy. So, ready to rise to new heights?

Part 1: the complete tutorial to build your loft bed with integrated storage

The idea of building your own loft bed appeals to you? It's the ideal project to create furniture that reflects you, both stylish, functional and adapted to your space. An ambitious project, but totally within your reach with a little method.

Before you start: the essential points

Before touching a plank, a few checks are necessary. This is the secret of a successful project. Think of it as the foundation of your future creation.

  • Ceiling height: This is the non-negotiable starting point. Aim for a minimum of 2.50 meters for optimal comfort. The trick? Sit on your mattress and measure. You need at least 60 cm of free space above your head to feel comfortable.
  • The choice of wood: For furniture combining aesthetics and durability, solid wood is king. Pine, beech, oak... These noble species guarantee rock-solid strength. For total commitment, choose FSC or PEFC certified wood. It's the assurance of an eco-responsible choice.
  • Safety: The structure must be absolutely stable. Wall mounting is therefore essential. This is what will allow you to ensure rock-solid stability and sleep peacefully. Solidity depends as much on materials as on the care taken in assembly.

The manufacturing steps

Your project is approved? Perfect. Let's move on to implementation. Here's the process, step by step, to bring your custom loft bed to life.

Step 1: The plan

Everything starts with a drawing. A precise plan is your best ally. Take measurements of your room, mattress, and sketch the location of storage. Be creative but rigorous.

Step 2: Materials and tools 

Gather everything you need before starting.

  • Materials: Solid wood beams and battens, plywood sheets, robust wood screws, fixing brackets, wood glue, and an ecological varnish or paint, VOC-free.
  • Tools: Tape measure, pencil, spirit level, saw (circular or jigsaw), drill-driver and sandpaper.

Step 3: The structure

Assemble the main frame the four sides of the bed then securely attach the legs. At each step, check the squareness with your level. Precision is key.

Step 4: Integrating storage.

This is where your bed becomes unique. Build and integrate the niches, shelves or storage units from your plan. This is the major advantage of custom-made: furniture that meets your needs.

Step 5: The bed base

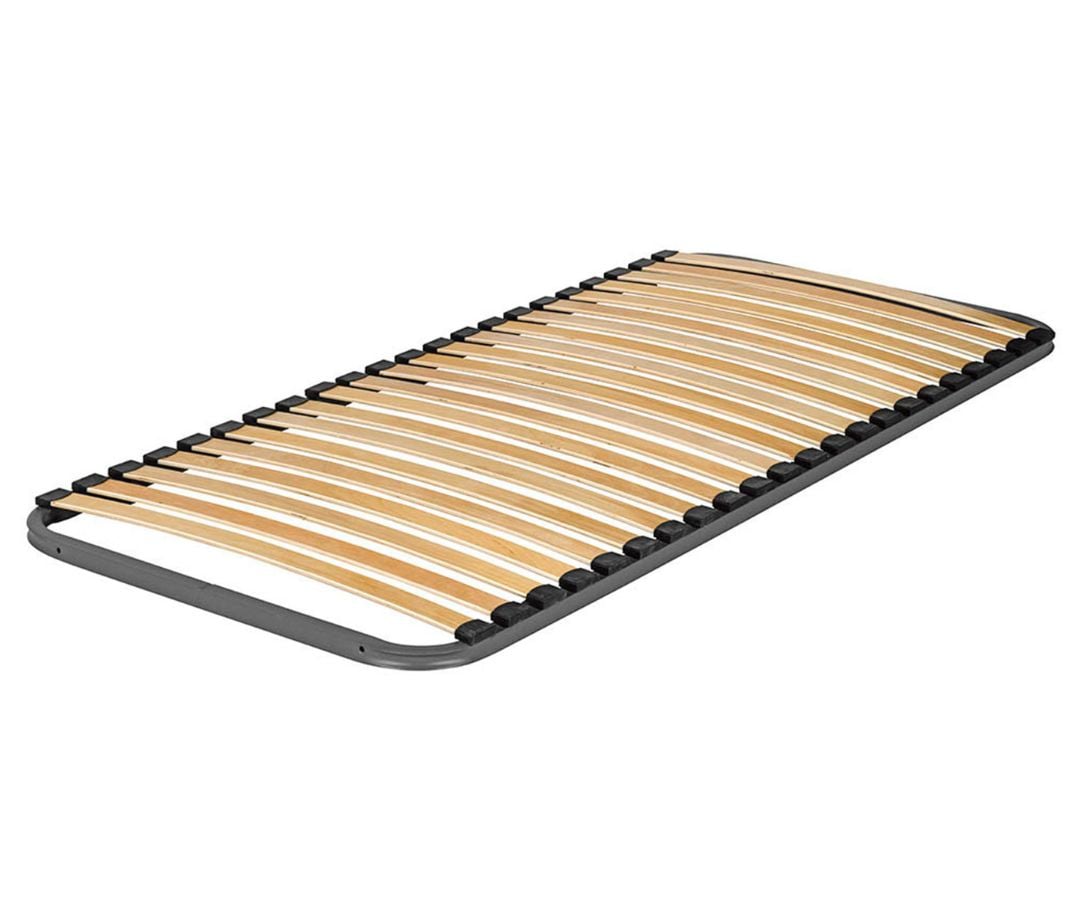
Lay the crossbeams that will support the weight of the mattress. Then, fix the plywood sheet on top. For an even more detailed guide on building a loft bed, check out our dedicated article.

Step 6: Finishing touches

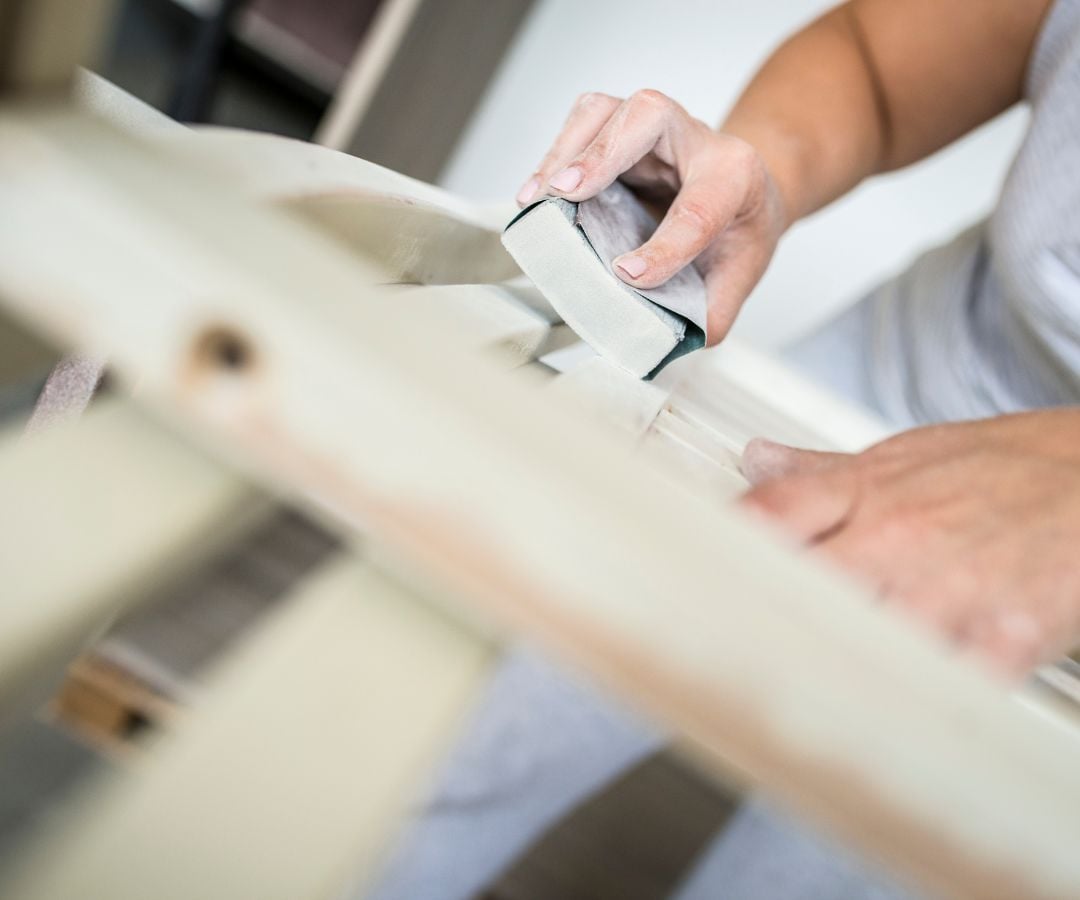
Meticulous sanding for a smooth touch. Then, apply water-based paint or protective varnish. This final touch protects the wood and ensures a healthy atmosphere in your bedroom.

The simple method: customizing a Nateo Concept loft bed

Starting from a solid and healthy base

Let's be honest. Not everyone has the time or tools to build a structure as complex as a loft bed. Fear of doing it wrong, doubt about solidity... It can quickly become an anxiety-inducing project. The solution? Bypass the problem.

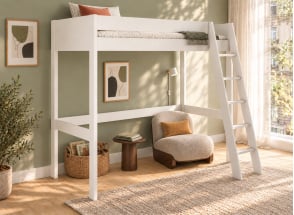
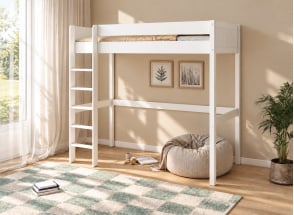
The idea is simple: start from a base of impeccable quality, already designed for safety and durability. This is where our Nateo Concept loft beds come into play. They are the ideal starting point.

They check all the boxes you care about: French manufacturing, sustainable solid wood, water-based finishes without solvents. It's the certainty of investing in clean-lined furniture that will stand the test of time. The advantage is immense: you focus on the creative part the layout without worrying about robustness. It's already guaranteed.

DIY storage tutorials

Once the loft bed is well in place, a world of possibilities opens up to you. Here are some ideas to create storage that reflects you and integrates perfectly under your bed.

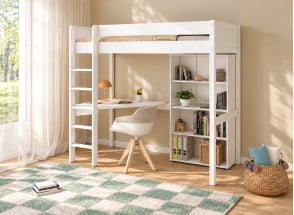
  • The custom shelving wall: A formidable classic. Take measurements under the bed and cut wooden planks. For visual harmony, opt for the same wood species as your bed. Ideal for displaying your beautiful books and decorative objects.
  • The multifunctional rolling storage unit: Practical and mobile. Imagine a low storage unit, easy to build, mounted on wheels. It slides under the bed to hide seasonal linen, then comes out to become an occasional coffee table.
  • The open wardrobe: For a minimalist style. Simply fix a simple raw wood or black metal rod under the bed structure. You thus create a discreet, airy and accessible wardrobe space.

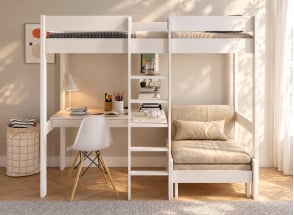
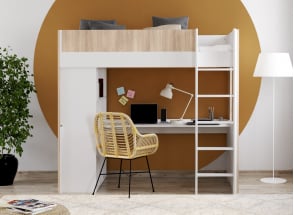
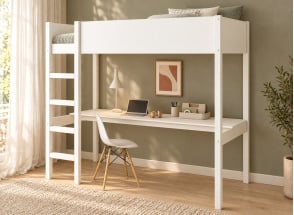
And for the most ambitious, this space can even be transformed into a workspace. It is entirely possible to create a perfectly integrated desk area under the loft bed.

Storage type Main use Difficulty level Design tip
Custom shelves Display & organize (books, decor) Easy Play with depths
Rolling storage unit Store & hide (linen, shoes) Easy Paint the interior a pop color
Open wardrobe Hang & air (clothes) Very easy Choose a matte black rod for an industrial look
Wall-mounted desk Work & create (workspace) Medium Use a raw wood board for the desktop

How to optimize and organize storage space?

Your storage is in place. Perfect. Now you need to transform it into a space that breathes harmony. Forget the simple storage room, aim for an intelligent and stylish extension of your bedroom.

What to store under your raised bed? The smart sorting method

The space under your bed is precious. The key? Store usefully and keep essentials accessible. The secret lies in a simple method: sorting by frequency of use. It's common sense, applied to your interior.

  • Daily use: Your clothes for the next day, the book you're reading, your computer. These items should be within reach, on low shelves or in the first drawer. Zero effort.
  • Weekly use: Your sports outfit, spare bed linen, towels. They will find their place in storage units or drawers a little higher up, always accessible.
  • Seasonal use: The winter duvet, off-season clothes, suitcases. Store them in less easily accessible areas, such as the back of large drawers or boxes on upper shelves.

Tips for a stylish and functional layout

Let's move on to the final touch, the one that transforms a practical layout into a space with soul.

  1. Play with light. A space under a bed can quickly become dark. Integrate smart lighting. Discreet LED strips or a pretty table lamp radically change the atmosphere.
  2. Unify with color. For a clean look, paint your storage the same shade as the wall or bed. The whole will blend into the decor, creating an impression of space.
  3. Choose aesthetic containers. Ban plastic. Opt for pretty seagrass baskets, elegant fabric boxes or wooden crates. These details are the hallmark of a well-kept interior.
  4. Think vertically. Even under the bed, every centimeter counts. Use drawer organizers and stack coordinated boxes to exploit all available height.

Setting up your raised bed is much more than a DIY project. It's rethinking your space to make it more beautiful, functional, and above all, to reflect you.

Whether you're a seasoned DIYer ready to take on the 100% DIY challenge or prefer to customize a healthy and solid base, you now have all the keys in hand. Building your raised bed is much more than a design project: it's an opportunity to create stylish, functional furniture that reflects you.

FAQ

A raised bed saves space while adding style. Plan for a ceiling height of at least 2.50 m and opt for solid wood (pine, beech). Fix the structure to the wall for more safety and take advantage of it to integrate custom storage.
Tip: start with a French wood loft bed and customize the lower space according to your needs (shelves, wardrobe, desk...).

The loft bed remains the best option to free up floor space. Arrange clever storage underneath: shelves, storage units or wardrobe. Also consider integrating drawers into the steps for a practical and compact design.

The platform bed is a stylish alternative to the loft bed. Build a solid wood platform, with integrated drawers under the bed base. Use durable materials and natural finishes for a cozy look and large hidden storage volume.

Build a custom solid wood base. It will serve as a solid foundation and offer integrated storage. It's more aesthetic and durable than commercial bed risers, while harmonizing the bed with your furniture.

Replace the legs with taller models or install your bed on a platform. For a more ambitious project, transform it into a loft bed: new structure, wall mounting and storage underneath. Ideal for optimizing a small bedroom.

Yes, slightly. This can improve breathing or reduce reflux. On the other hand, a raised or loft bed is mainly aimed at optimizing space, not modifying sleeping position. Keep at least 60 cm between mattress and ceiling for optimal comfort.

Discover our loft beds